
How to Manage Users in Google Workspace

Manage Users in Google Workspace
Because user management is the first step in creating a collaborative team environment, it is critical to Google Workspace administration. After logging in, the user has access to Google-powered programs such as Gmail, Meet, Drive, Calendar, and others.
These technologies make communication and file sharing a breeze, and they provide you with everything you need to bring your team together for success.
We’ll show you how to manage users in the Google Workspace Admin Console in this guide. First, we’ll go over how to add, remove, and update users. After that, we’ll explain what an email alias is and how to create one.
- Create a User
- Remove a User
- Change a user’s name or email address
- Alternate Email Addresses (Aliases)
Step 1: Create a User
- In the Users area, click the Add a user link.
- Fill in the information for the new user account you’re making. First name, last name, and primary email address are all required fields. If you want to give instructions on how to log in, you may also enter a phone number or a secondary email address.
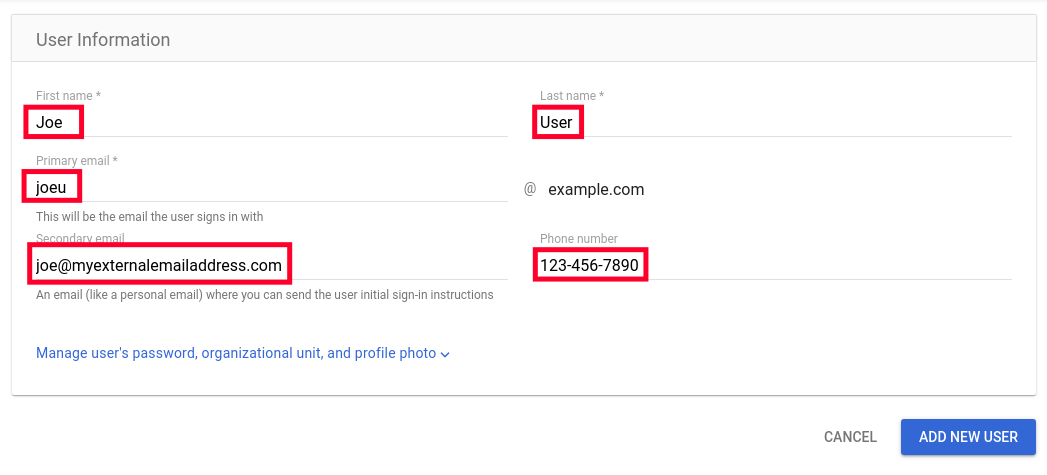
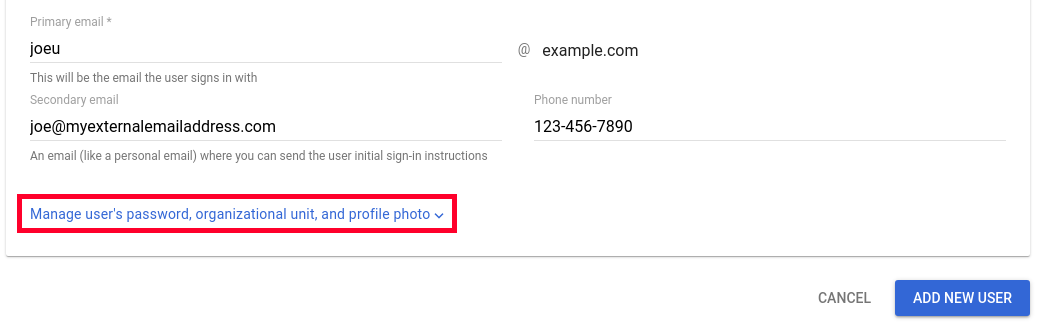
- Click the link at the bottom to add a photo for the user or to manually set their password.
- To finish the setup, click the Add New User button, and you’ll be taken to a page that says “New user added.” You can next proceed to the tasks listed below
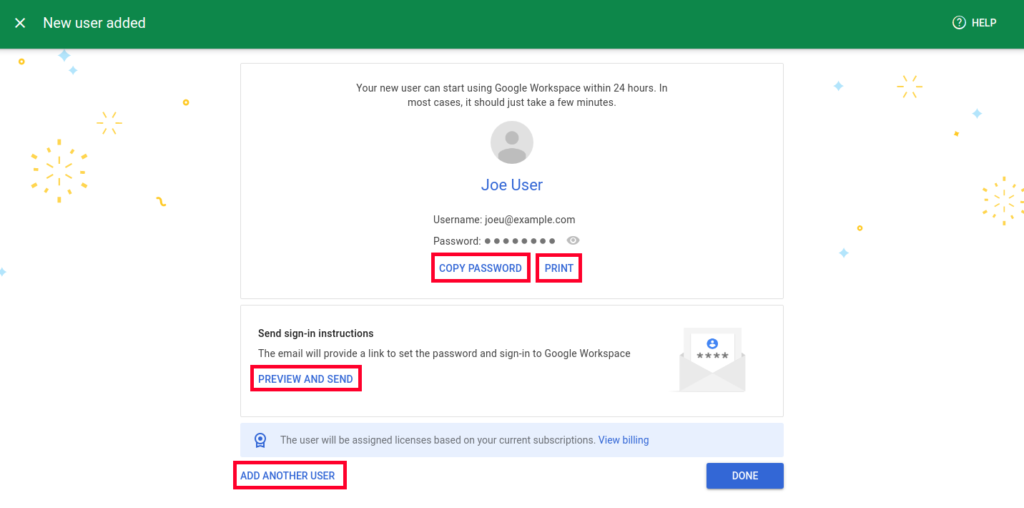
Password Copy
When you click this, the user’s password will be instantly copied to your clipboard. We propose using PassEncrypt to encrypt it before giving it to the user.
This will produce a printable sheet with the user’s username, password, and login address to help them get started.
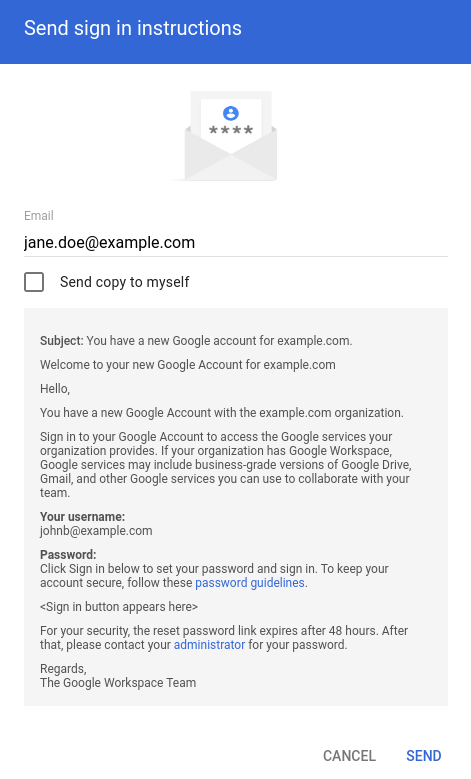
Sending an Email
This will send the user an email with login details, similar to the printed page. Instead of a password, a link will be provided for them to login and create one. You may also click the option to send yourself a copy of the email.
Add a New User
This will take you back to the start page described in Step 2 above, where you can add more users.
Step 2: Remove a User
Because Google Workspace is often paid “per seat,” you should delete a user account if it is no longer in use or if the person has left the company.
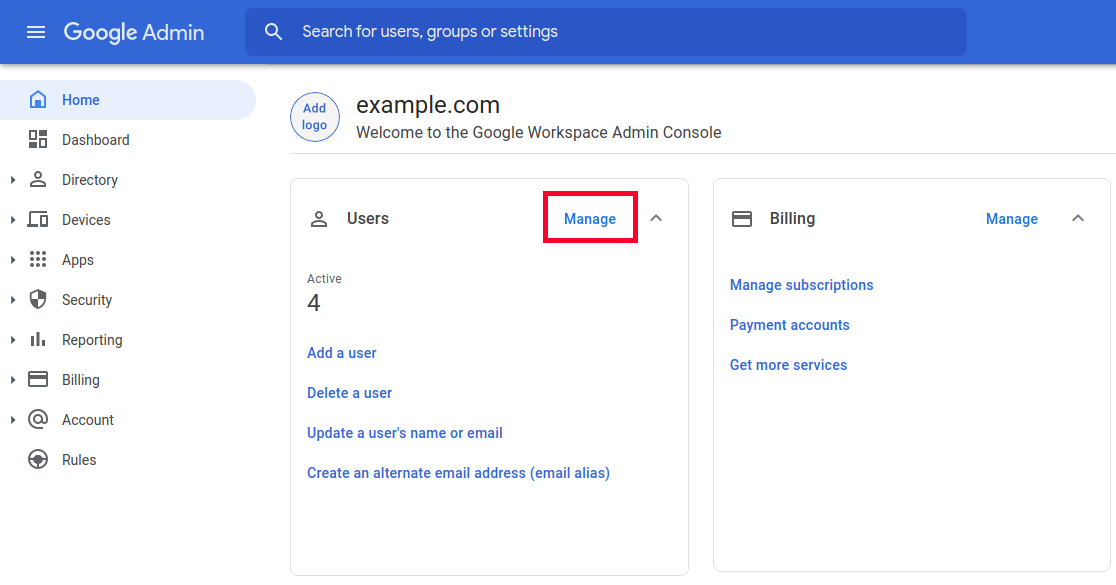
- On the homepage of your Google Workspace Admin Console, click the Manage option next to “Users.”
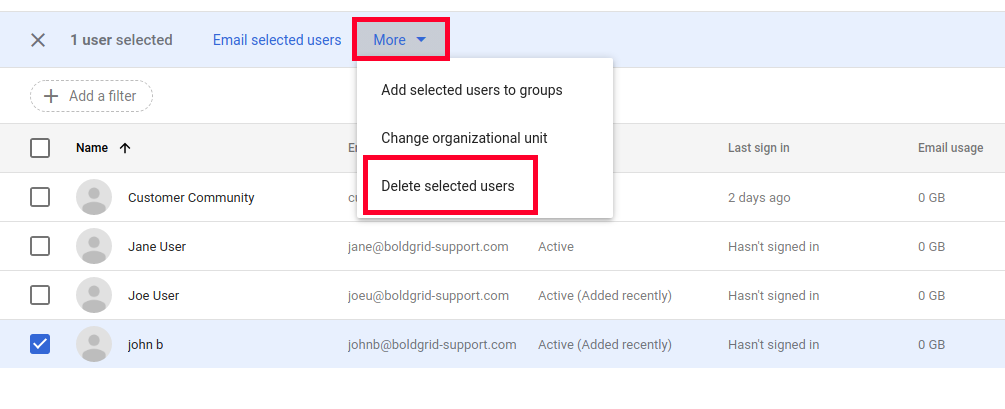
- Select the user(s) you want to delete from the drop-down menu.
- Select the Delete selected users option from the More menu at the top of the page.
- If you want to move all of the user’s email data, select that option. You can choose how far back in time you want to go and which users will have access to it. To begin the process, click the link “Migrate the user’s existing email” or proceed to the next stage.
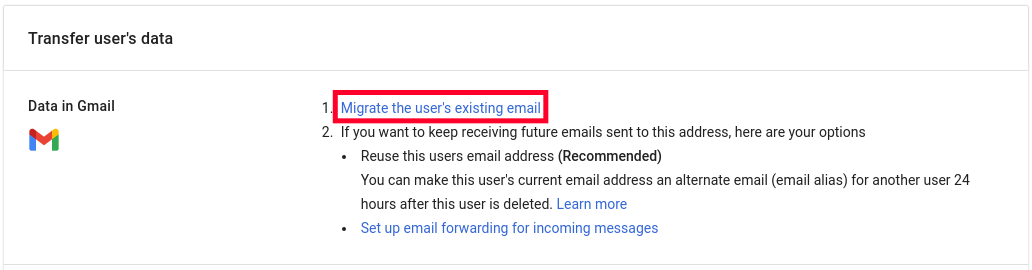
- You must decide whether or not you wish to continue receiving email at this address. You can set up a “email alias” or a forwarder to another address to take over the email address.
- Choose whether or not you wish to share data from other apps with another user. If you want to keep the data, make sure the Transfer option is chosen.
- Enter the Username of the account to which the content will be transferred.
- Select the things you want to move by checking the boxes next to them.
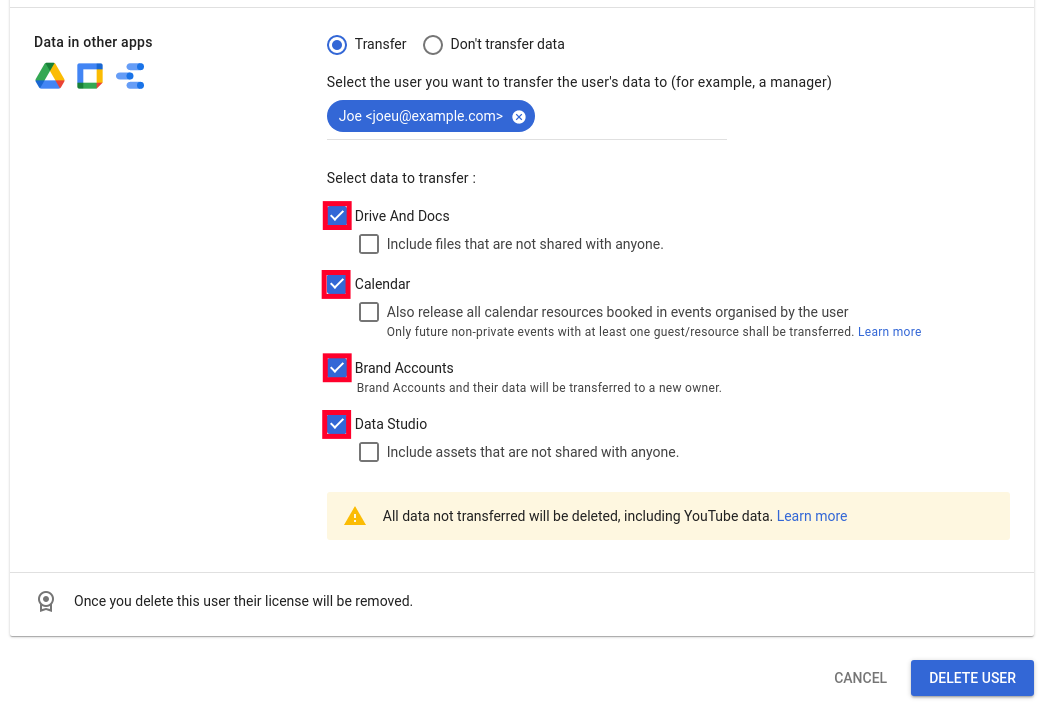
- Select Delete User from the drop-down menu.
Step 3: Change a user’s name or email address
It’s possible that you’ll need to update a user’s name due to a mistake or a marriage name change.
- In the Admin Console’s Users section, click Manage.
- Click the Update user link after rolling your mouse over the user you want to change. You may also add a filter to your search to find users.
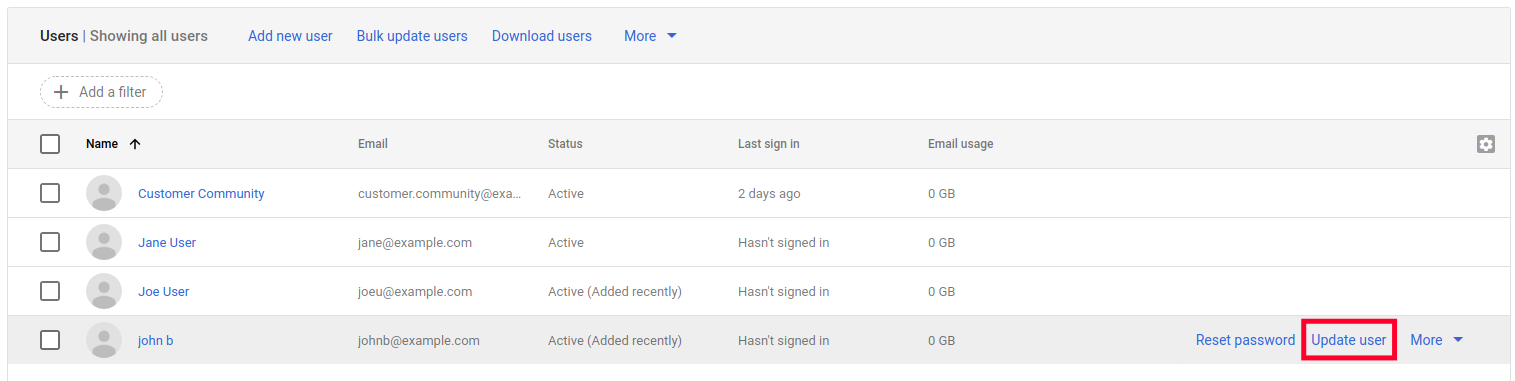
- As needed, change the initial name, last name, and email address.
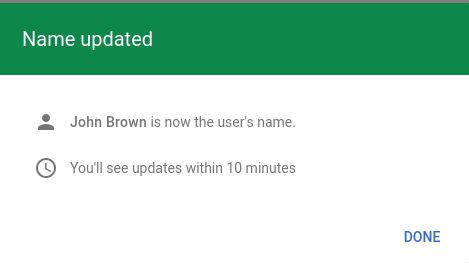
- To save your changes, click the Update User button. When you see the notice “Name Updated,” you’re done.
Step 4: Alternate Email Addresses (Aliases)
An Alias or “Alternate Email” address allows users to move between different email addresses. For example, if I work in marketing, I may need to move various email accounts based on the campaign I’m overseeing.
- In the Users section of the Admin Console, click the Create an alternate email address (email alias) link.
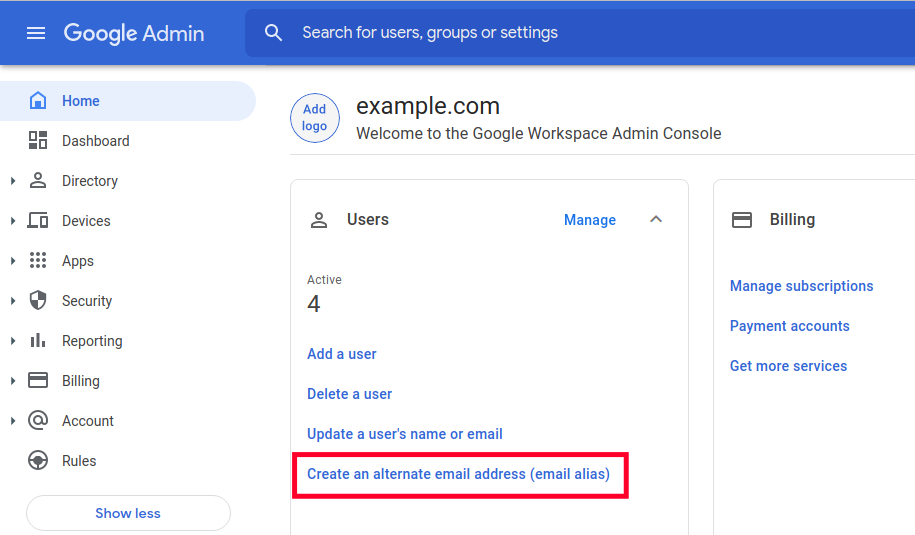
- Enter the user for whom the alternate email address is required, then click Next.
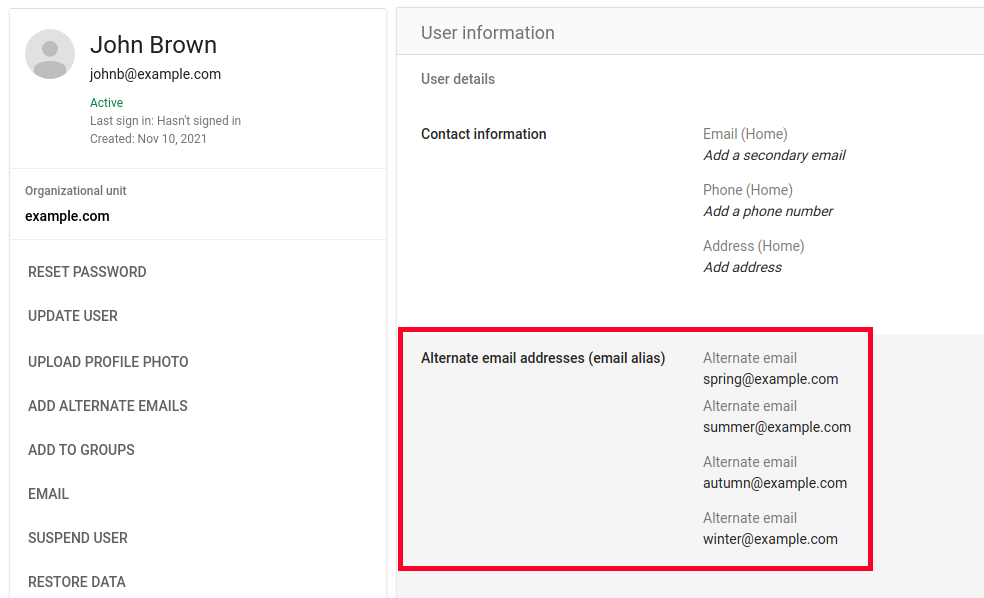
- After that, you can create up to 30 different emails.
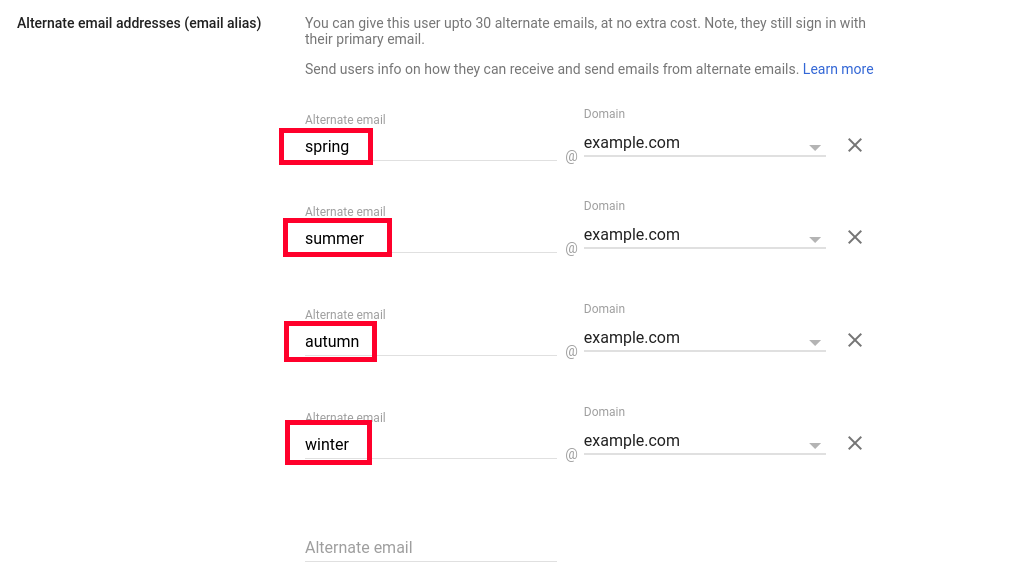
- When you’re finished, click the Save button. In the user info area, you’ll see your alternate email addresses listed.
Visit our Google Workspace area for more useful information now that you know how to get started with user administration in Google Workspace.