
How to Create a WordPress Free Website in 2023?
Do you want to create a WordPress Free Website? In the current digital era, having a website is vital for both individuals and businesses. It offers a stage on which to present your concepts, products, or services to a large audience. Millions of websites use the well-liked content management system WordPress, which combines flexibility and user-friendliness.
This comprehensive tutorial will show you how to build a WordPress free website with a catchy beginning that not only grabs visitors’ attention but also leaves a lasting impression. Let’s start now!
WordPress Free Website & Hosting Setup
A website’s domain and hosting are its foundations. Without them, there would be no websites. Your website’s identity is represented by its domain. It can be entered into a browser to send users straight to your website. All of the data and files for your website are kept on the hosting. It works like a computer that transmits the content of your website to users who are searching for it at any time and from any location in the world.
The majority of the time, you can buy the domain name independently and pay another business to host it on their servers. But purchasing them together is the most economical course of action.
List of 8 WordPress Free Website & Hosting Providers
- 000WebHost
- WordPress.com
- InfinityFree
- Freehostia
- Pro Free Host
- Free Hosting
- AwardSpace
- Freewebhostingarea
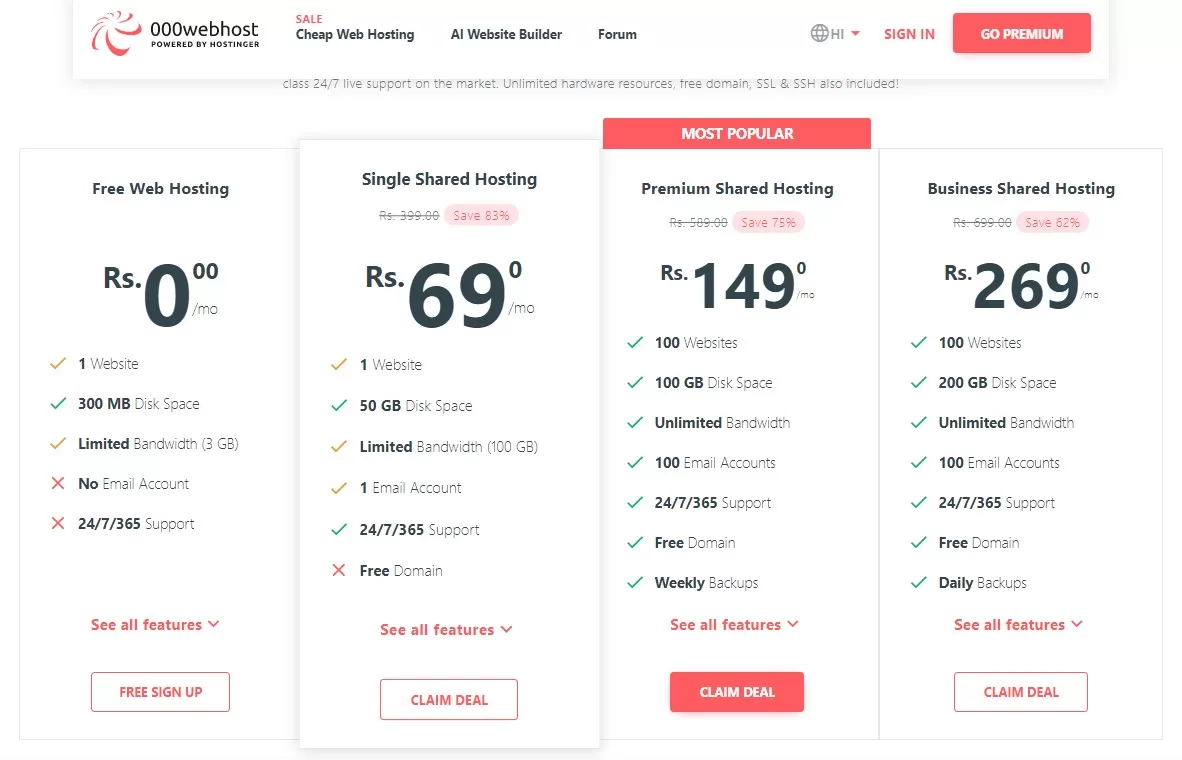
So, Let’s start with 000WebHost WordPress Free Website because it’s a trustworthy free subdomain & hosting provider also 000WebHost is a part of Hostinger(The no. 1 Hostinger Provider in the Industry).
Go to the pricing plans section and click on the “Free Sign Up” button
Give your 000WebHost account your email address and password. Following the verification of your email, the installation tutorial will lead you through the following 6 easy steps:
6 Steps for 000WebHost Free Hosting Setup
Step 1: Decide what kind of website you want to build—a blog, an online shop, a website for web development, or something else.
Step 2: If you decide to start a blog, you’ll need to decide what subjects you want to write about.
Step 3: 000WebHost recommends installing the Chrome browser for maximum performance. You can select Skip if you already have it.
Step 4: The following step requires you to give your website a name and choose a password.
Step 5: Choosing the CMS(Content management system) you’ll be using is the last step. It’s WordPress for us. A pop-up window will appear when you click it and prompt you to set up an administrator username and password for your WordPress website. These login details are required each time you want to access the backend of your website.
Step 6: Customize your website using the WordPress admin panel to select themes, customize the appearance, add pages or blog posts, and install plugins to enhance your website’s functionality.
That’s it! You have successfully created a WordPress free website using 000WebHost. You can now start building your website and publish it to make it accessible to the public.
Import & Customize Template
Your website was actually created. But the default version, which includes a sample page and content, is somewhat unimpressive. So let’s get to work planning and building it. To access the backend of your website, append “/wp-admin” to the end of its URL. The components of our website, like posts, themes, plugins, and settings, are managed here.
You’ll see that the website and dashboard are currently a little disorganized. Let’s begin the cleanup. Click it by going to the Plugins tab. You’ll observe that 000WebHost has pre-installed a few plugins. It’s crucial to install only the plugins that are absolutely necessary to maintain a quick website.
You can just delete the pre-installed plugins because they are not required. Selecting “Deactivate” from the drop-down menu after selecting every plugin and then clicking Apply.
Then pick each one once more, select Delete from the drop-down menu, and press Apply.
Now you can begin creating a page. Click “Add new” while you are on your dashboard’s “Pages” tab. This is the block builder by default for WordPress. A page title is a good place to start.
Use the + icon to add various types of blocks, such as photos, headlines, galleries, lists, and quotes, after pressing the enter key to begin a new paragraph.
However, creating every page and post on our website in this manner takes a lot of time, work, and design expertise. Therefore, importing pre-built templates and customizing them to suit our needs is a far better option.
Click “Themes” under the “Appearance” tab in your WordPress dashboard. Then, to add a new theme, click the “Add new” button. To find the Rishi theme, use the search bar. Click Install after hovering over the first search result. Then turn it on.
Next, use Elementor as your page builder because it’s the most user-friendly. You can browse Elementor’s extensive library of templates in the pop-up. To focus your search, use the filter up top and choose “Free”. Click the “Import Complete Site” option in the bottom right corner if you prefer a website template. After that, click Import once more and wait for the procedure to finish.
Your free WordPress website will appear just like a professional one after the import is finished. Even pages and posts with some sample material will be included.
All that is left to do is swap out the sample content for your own. Click the “Edit with Elementor” button at the top of any page or post that you want to edit.
Click the “Publish” button at the top when you are finished. The changes will appear on the live site when you refresh the website.
Please note that the specific customization options and appearance may vary depending on the theme and plugins you have installed.
Wrap-Up – How to Create a WordPress Free Website
Create engaging content by adding pages and posts, utilizing the WordPress editor to incorporate text, images, and multimedia elements. Don’t forget to configure the settings according to your preferences. By following these steps, you’ll have a personalized and functional WordPress free website up and running in no time. Remember to stay proactive in updating your content and maintaining the security of your website.