
How to use cPanel to Upload your Website

How to Upload Website in cPanel?
Having your own website will help you grow your internet presence, customer base, and conversion rate. However, if you haven’t already published your website, it will be practically hard to achieve these objectives.
Best of all, you don’t need any coding knowledge to get your site up and running on the webserver. Many hosting services and FTP programs offer simple facilities for uploading a website with a few clicks.
10 Step to Upload Your Website in cPanel
Here are the 10 Simple Steps to upload your website in cPanel:-
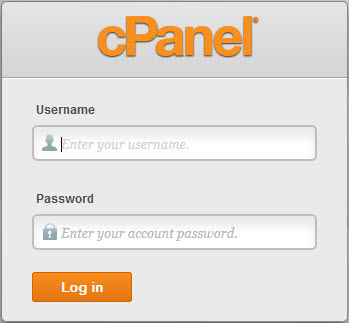
Step 1: Login to cPanel Portal
Replace [[IP Address]] with the IP address for your server provided in your welcome email when logging into the customer (cPanel) portal at https://[[IP Address]]:2083.
Step 2: Uploading the HTML and CSS file to cPanel
After that, you’ll be connected to the customer (cPanel) site for the account where you want to upload the files.
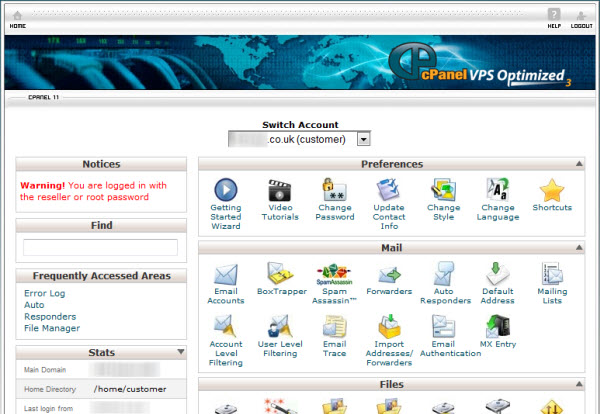
Step 3: Find the File Manager on cPanel
Click the File Manager icon in the Files section.
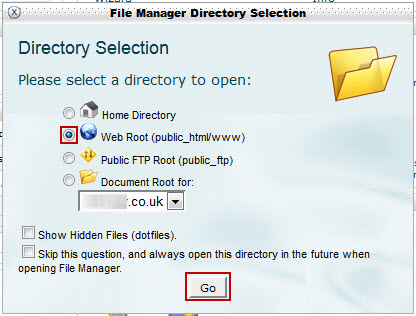
Step 4: WebRoot (public html/www)
Press the Go button after selecting the WebRoot (public html/www) option.
Step 5: Find the public_html folder
The File Manager screen will now appear.

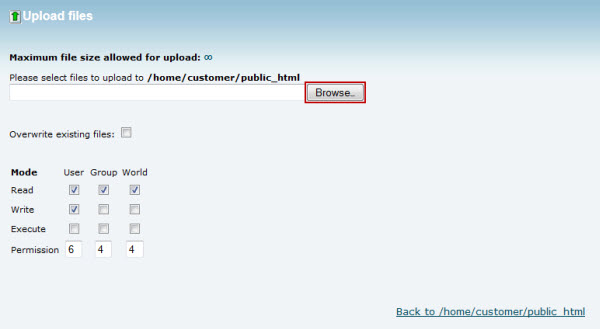
Step 6: Find the upload icon
Select the Upload icon from the drop-down menu.

Step 7: Upload the file you want
Select the file you want to upload by pressing the Browse button.
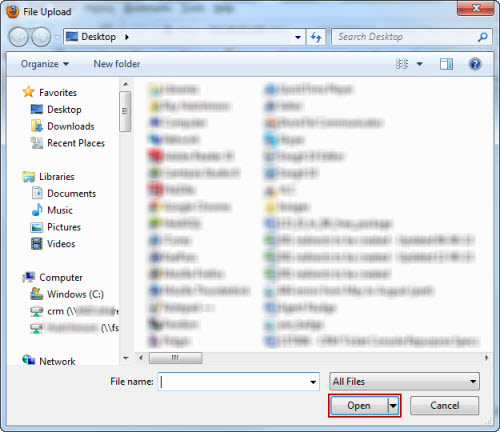
Step 8: Select the file
Open the file you want to upload by navigating to it and pressing the Open button.
Step 9: Uploading Status
The file upload will then be given a status.

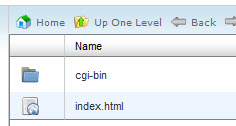
Step 10: Uploaded file will now appear in File Manager screen.
When the upload is finished, click the Return to /home/customer/public html link.
Your uploaded file will now appear in your File Manager screen.
Then repeat steps 6 to 10 until you have uploaded all the required files.
More information:
For more information about Google G Suite/Workspace domains, Servers, Hosting check out these F60 Host resources: