
How to Use the Aino Notification Banner Block Plugin in WordPress
The Use Of Aino Notification Banner Block Plugin In WordPress
You may wish to notify your viewers of some crucial information that you want them to see on occasion. Using a plugin like the Aino Notification Block is one of the finest methods to achieve this. You may create pop-up notifications that must be ignored before the website visitor can proceed.
This post will teach you how to install the Aino Notification Block plugin, generate notifications, and customize them using the many settings available.
Set up the Aino Notification Banner Block Plugin
Aino offers a number of plugins as well as a free theme to aid in the creation of WordPress layouts. The Notification Banner Block plugin is a valuable tool for your WordPress site even if you don’t have any other plugins installed. To add it to your WordPress site, follow the steps below:
- Log in to your WordPress Administrator Dashboard.
- In the main menu at the left-hand side of the screen, click on Plugins, then Add New.
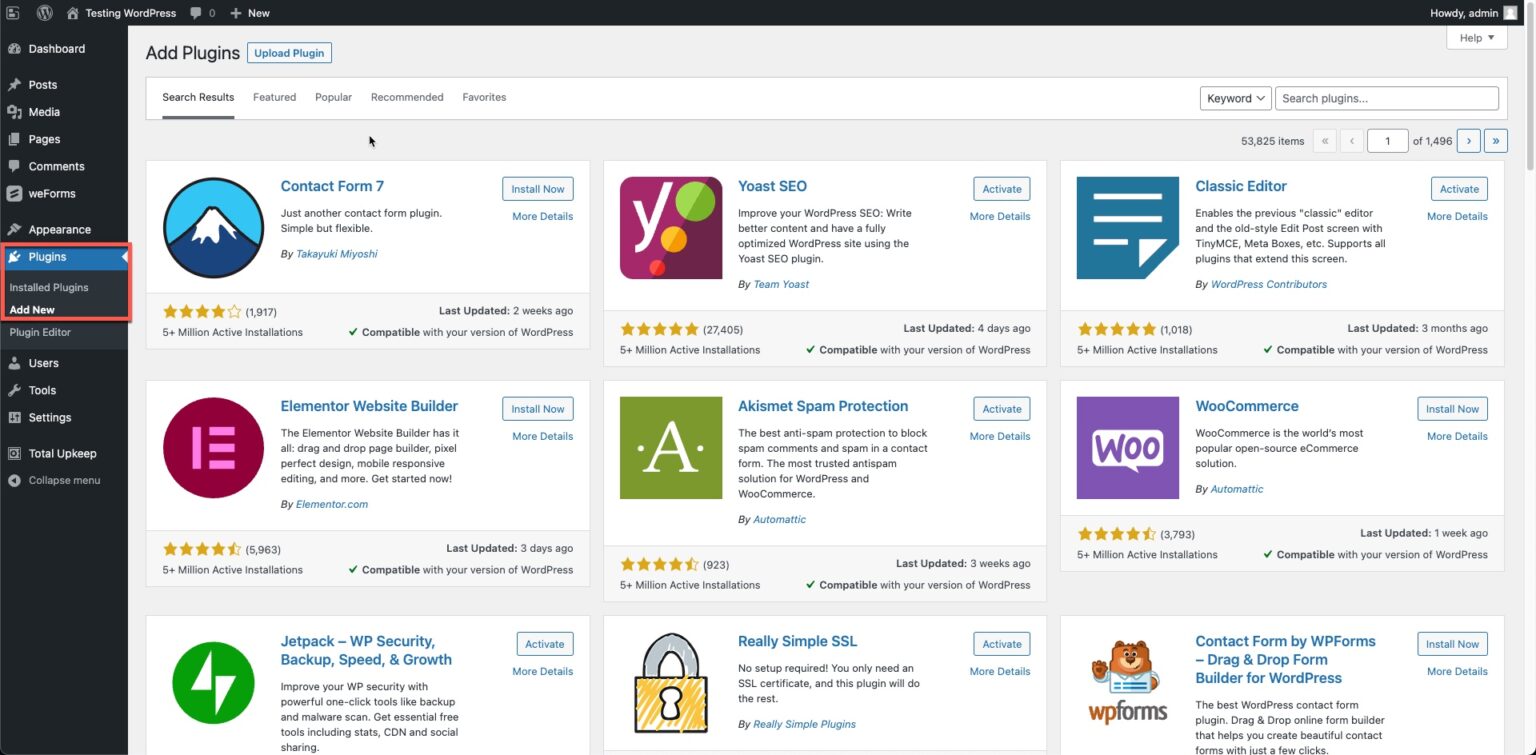
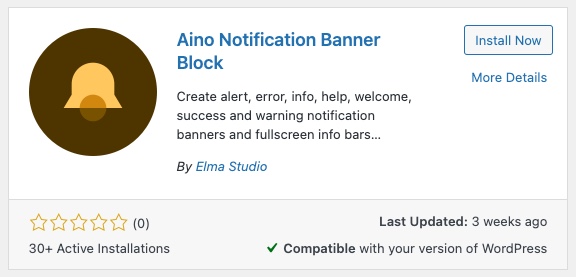
- Next, put “Aino Notification Banner Block” in the Keyword field. This will bring up the WordPress Plugins installation option. Install Now should be selected.
- When the installation is finished, the Install Now button will change to Activate. To activate the plugin and complete the installation, click Activate.
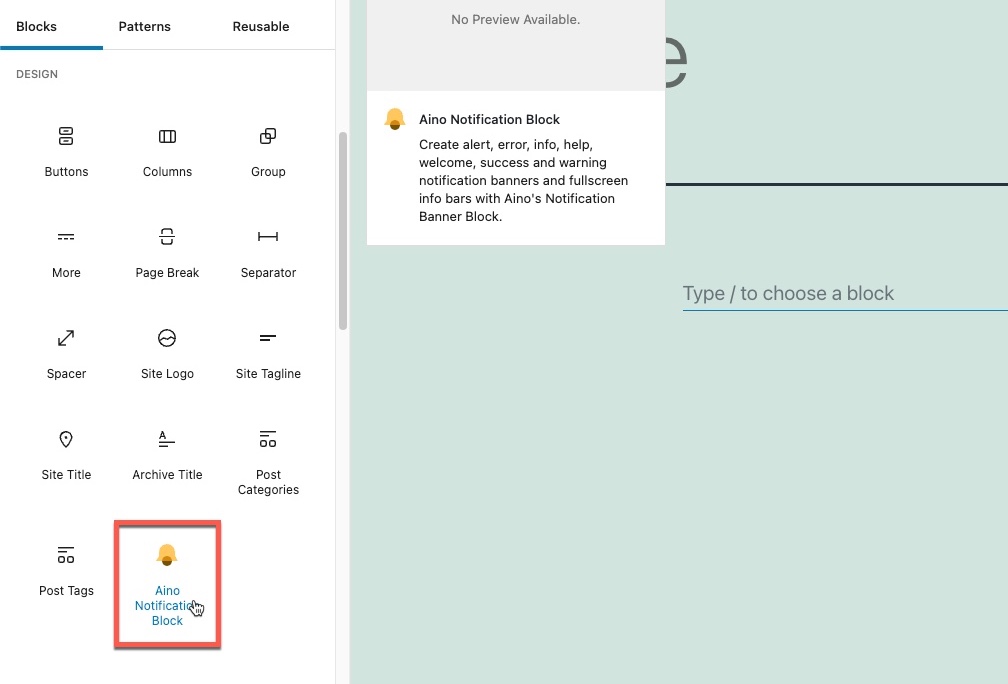
When the installation is finished, you won’t notice any changes to your WordPress installation right away. You’ll need to go to the post/page editor and look at the blocks you may add to see where the plugin is hurting your site. As seen in the picture below, the notification block will be in the Design section.
Create Notifications
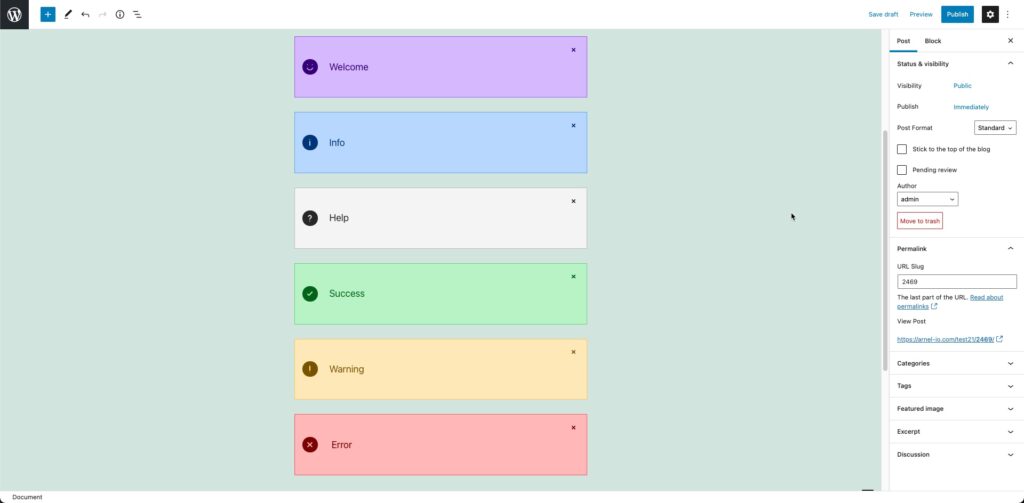
Using the Aino plugin to create notifications is a pretty straightforward process. To add one, you’ll need to be in the post/page editor. You may use notifications to notify your website users of crucial information. You may now build six different sorts of status banners.
The placement of each banner is determined by where the block is placed in your post or page. With outlines, text, and an icon, the status type modifies the design of the banner subtly.
Each notification is configured to shut when you click the “X,” but you may adjust this to keep the notification banner visible.
To add a banner notice, follow these steps:
Step 1: Log in to the WordPress Admin Dashboard (if you’re not already there).
Step 2: Create a new post/page, or open an existing one.
Step 3: To add a new banner notice, locate the block by clicking on the Plus symbol. In the Design section, you’ll find the Aino Notification block. When you click the block in the menu, a block will appear in the editor.
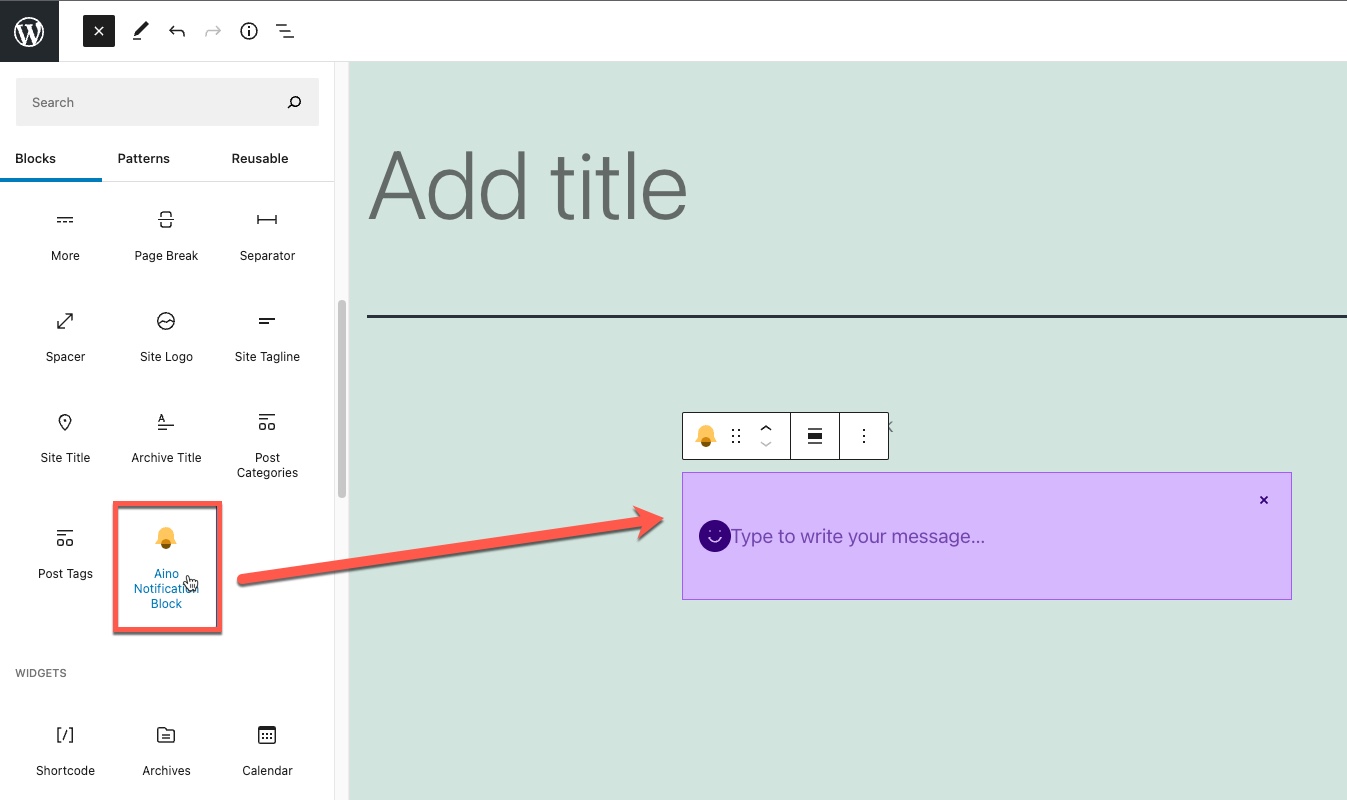
Step 4: The state of the block will default to the Welcome style block when it appears. To add text to the block, type into it. Here’s an example of what it may look like:

Step 5: The state of the block will default to the Welcome style block when it appears. To add text to the block, type into it. Here’s an example of what it may look like:
You may customize the notification block in a number of ways. In the next part, we’ll go over those possibilities.
Block Notification Options
You’ll see choices to adjust how a block appears and functions, much as you’ll see with most blocks in the WordPress visual editor. The characteristics of the previously inserted welcome block may be seen here. On the right side of the page, these characteristics will be presented. If the properties aren’t visible, click the gear button to bring them up.
Although the notification block settings may be concealed behind the arrow, you may extend its parameters by clicking on the drop-down arrow. The Status drop-down option for the 6 various notification kinds is found under that section’s settings. There are other settings for allowing the notice to be closed and displaying the icon.
Color, Border, and Spacing are also available. Every block introduced to the visual editor has an Advanced section as well. The Advanced section includes fields for an HTML anchor and additional CSS.
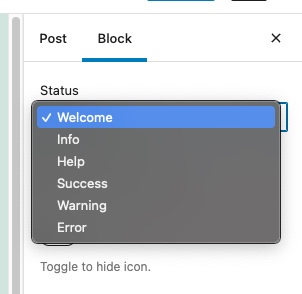
Status
Welcome, Info, Help, Success, Warning, and Error are among the status possibilities. The default appearance of each block is seen in this screenshot.
When you look closely at a notification banner, you’ll see an icon on the left and a “x” on the right, which allows you to cancel the notification. The symbol and closure choices are shown in greater detail in the screenshot below.

Sliders may be used to remove the icon and the ability to cancel the notice from the banner notification. You may also choose whether the symbol is full or outlined.
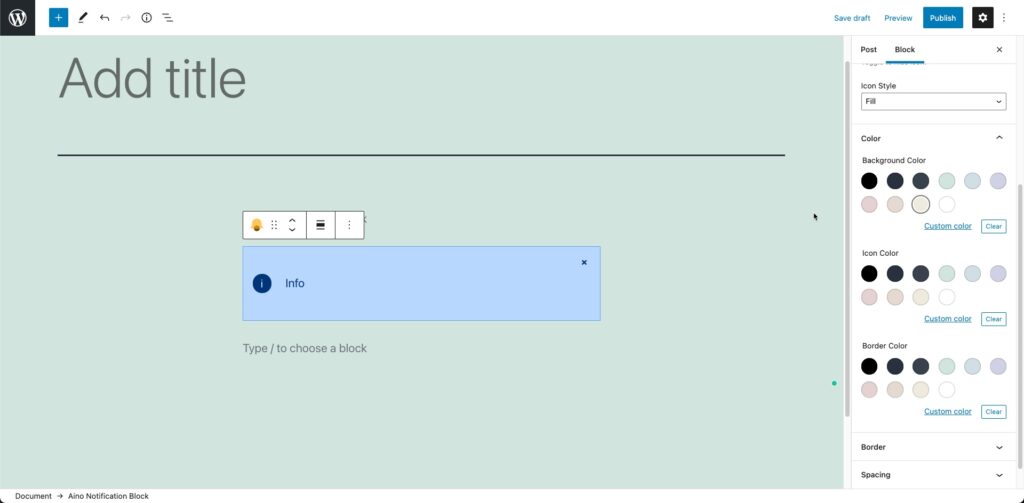
Colors
The background colour, icon colour, and border colour may all be changed via the colour settings. There are preset colours for the six various sorts of alerts, as seen in the previous picture. Colors are normally shown depending on the theme colours, however you may also select a custom colour.
Borders
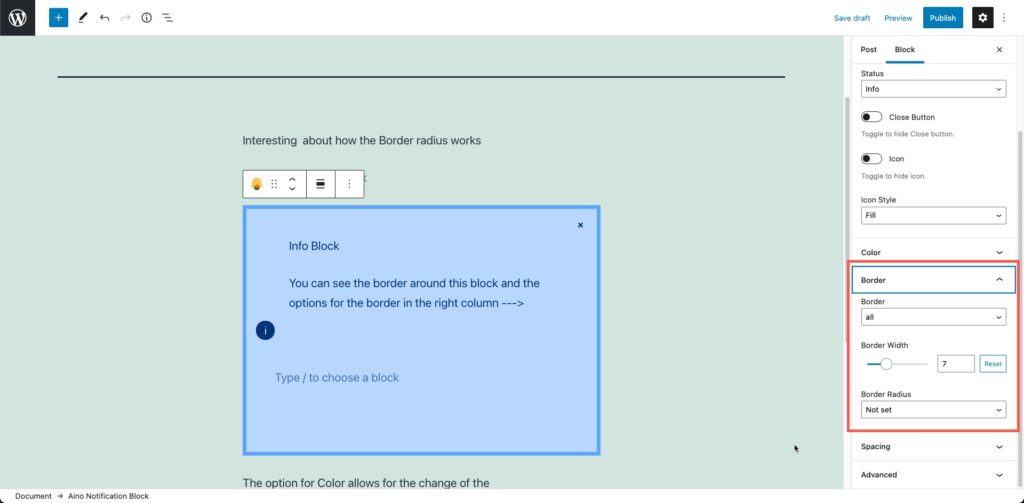
The options for borders include:
- Border – options from this drop-down include none, all, left, right, top, and bottom
- Border width – the width of the border is controlled by a drag-handle, or you can input a value
- Border radius – option is selectable from a drop-down menu and doesn’t affect the visibility of the border. The border radius is about the responsive layouts in terms of how the banner will appear with other elements that get moved towards the banner due to the responsive design
Padding

The padding influences the amount of space inside the banner notice at the top, right, left, and bottom. You may control each using a slider or by typing in a value.
This concludes our guide on creating notifications with the Aino Notification Banner Block plugin. The plugin allows you to add text notifications to your website that you want to draw attention to.