
Boost Your Website’s SEO with an HTML Sitemap Page in WordPress (2 Simple Methods)

If you’re a WordPress user looking to enhance your website’s user experience and improve its search engine optimization (SEO), incorporating an HTML sitemap page is a smart move. An HTML sitemap page provides a well-organized and user-friendly list of all the pages on your website. In this blog post, we’ll guide you through two easy and effective methods to add an HTML sitemap page in WordPress. Let’s get started on optimizing your website!
Benefits of Adding an HTML Sitemap Page
- Enhanced User Experience: An HTML sitemap page acts as a roadmap, allowing visitors to navigate your website more efficiently. It presents a comprehensive list of all your website’s pages, making it easier for users to find the content they want.
- Improved SEO Performance: Search engines value well-organized websites. By including an HTML sitemap page, you provide search engine crawlers with a clear structure of your website’s content. This can lead to better indexing and improved visibility in search engine results.
- Facilitates Site Navigation: Large websites with multiple pages can sometimes be challenging to navigate. An HTML sitemap page offers a single location where users can quickly locate and access the desired pages, regardless of their depth within the site’s structure.
- Increased Accessibility: An HTML sitemap benefits users with disabilities or those who rely on assistive technologies. It provides an alternative navigation method, ensuring everyone can easily access and explore your website.
- Promotes Internal Linking: By including links to all your website’s pages, an HTML sitemap page encourages internal linking. This helps distribute authority and improves the overall SEO performance of your website.
Remember to update your HTML sitemap page whenever you add or remove pages from your website. Regularly reviewing and refreshing your sitemap ensures that visitors and search engines always have access to the latest information.
Method 1: Using a Plugin for Hassle-Free Integration
- Choose and install a suitable plugin: When it comes to adding functionality to your WordPress website, plugins are invaluable. Follow these steps:
- Access your WordPress dashboard and navigate to the “Plugins” section, then click on “Add New.”
- Search for a plugin that suits your needs, such as “Simple Sitemap” or “WP Sitemap Page,” and install it.
- Once the installation is complete, activate the plugin.
- Configure the plugin settings: Take a moment to customize the appearance and functionality of your HTML sitemap using the plugin:
- Locate the settings page for your chosen plugin, typically found under “Settings” or as a dedicated menu item.
- Explore the available options and adjust them according to your preferences and website requirements.
- Save your changes to apply the desired settings.
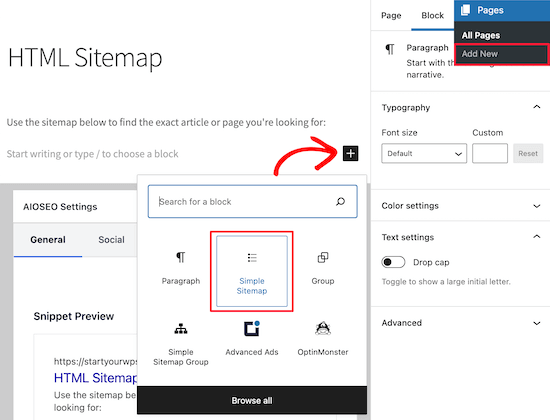
- Add the HTML sitemap page: Create a new page on your WordPress website and insert the shortcode provided by the plugin:
- Head to the “Pages” section in your WordPress dashboard and click on “Add New.”
- Give the page an appropriate title, such as “Sitemap” or “Site Index.”
- In the content area, paste the shortcode provided by the plugin.
- Publish the page and visit it to see your HTML sitemap in action.
Method 2: Manual Creation for Customization Enthusiasts
- Create a new page: If you prefer a hands-on approach, you can manually create your HTML sitemap page:
- Access your WordPress dashboard and go to “Pages,” then click on “Add New.”
- Give the page a relevant title, such as “Sitemap” or “Site Index.”
- Embed the HTML code: Take control of the HTML code and build a customized sitemap page:
- Switch to the “Text” editor mode by clicking on the “Text” tab located in the top right corner of the content area.
- Obtain an HTML code snippet for your sitemap from trustworthy sources online or tailor it to match your website’s structure.
- Paste the HTML code into the content area of your page.
- Save and publish the page to apply the changes.
- Customize the appearance (optional): If you want to add a personal touch and style your sitemap, consider the following optional steps:
- Access the “Appearance” section in your WordPress dashboard and click on “Customize.”
- Look for the “Additional CSS” option to access the theme customization options.
- Utilize custom CSS code to modify the HTML elements within your sitemap page, achieving the desired look and feel.
- Save your changes and enjoy your uniquely designed HTML sitemap page.
Conclusion
By adding an HTML sitemap page to your WordPress website, you enhance both the user experience and SEO performance. Whether you opt for a plugin for quick integration or prefer the manual creation method for more customization options, both approaches provide effective solutions. Remember to regularly explore additional SEO techniques and user experience improvements to ensure your website’s continued success.
Incorporating an HTML sitemap page in your WordPress website is a small but impactful step toward enhancing user experience and SEO. Whether you choose to use a plugin for convenience or manually create your sitemap for more customization options, the end result will benefit your website and its visitors. So, what are you waiting for? Start improving your website’s navigability and SEO performance by adding an HTML sitemap page today!
If you have any questions or need further assistance along the way, our team is here to help at F60 Host. Happy sitemap building and best of luck with your WordPress website!